Transcriber default
This guide will help you get started with the new, user-friendly interface for transcribing your audio and video files on UCloud.
What is Transcriber?
Transcriber is an app that turns your audio or video files into text. You can use it directly from your web browser on UCloud, with no technical skills required.
Step 1: Launch the Transcriber job
-
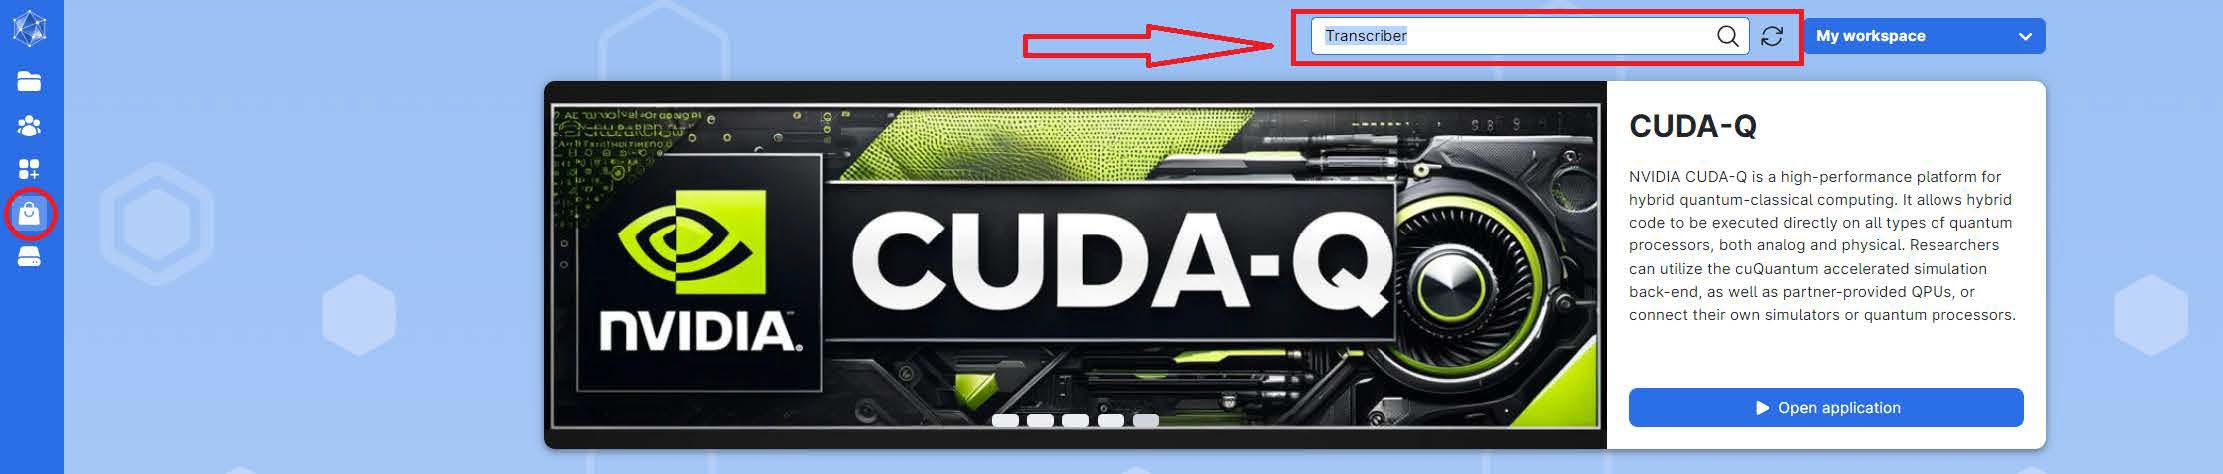
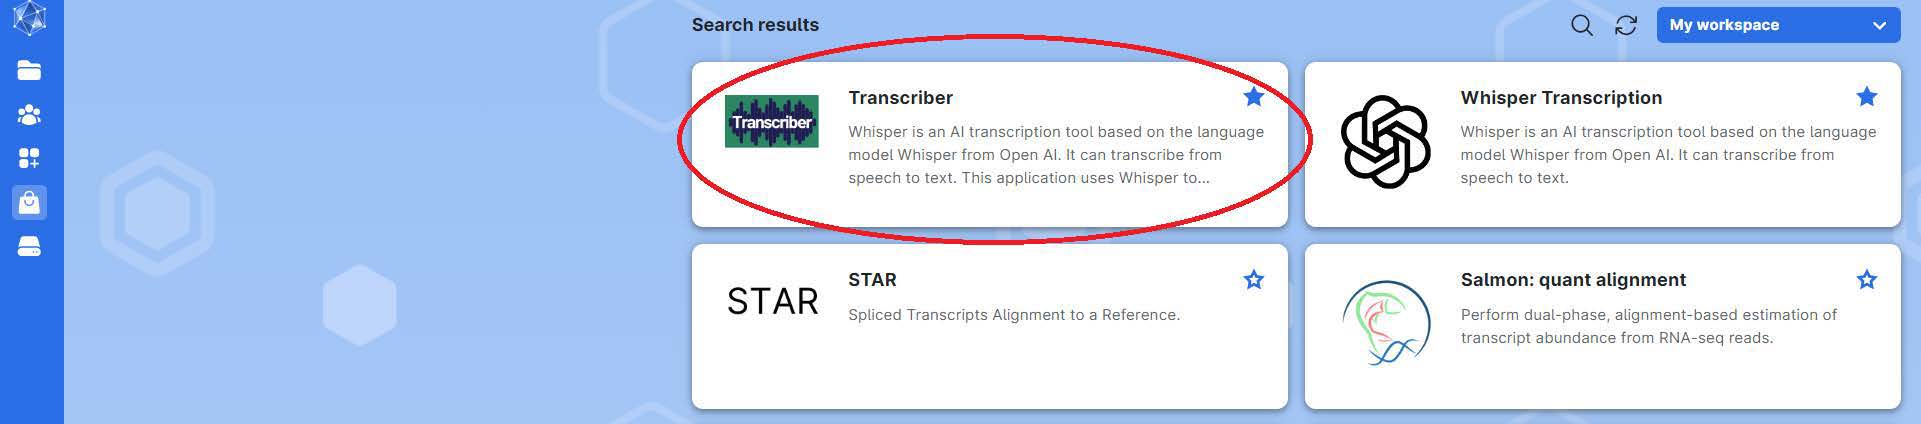
Go to the UCloud application page and use the search function to find Transcriber.
-
Open the app by clicking on Transcriber.
-
Configure Your Job:
- Name Your job: Choose a name that helps you identify the job later (e.g., "Transcriber Demo 1").
- Note: Avoid special characters like "æøå".
- Set the duration: Specify how many hours the job should run. For reference, a 1-hour audio typically takes about 1 hour to transcribe on a
u1-standard-16machine.- You can stop the machine early or add more time later if needed.
-
Choose a machine: We recommend
u3-gpu-1if available, otherwise useu1-standard-16. -
(Optional) Select folders to use: If you want to use UCloud folders, select the folder(s) containing your files.
- The app will scan these folders for compatible files.
> Note: Folders namedUPLOADSandCOMPLETEDare reserved by the app and won’t be scanned.
Once you finish, click Submit to start the Transcriber job.
Step 2: Add files to be transcribed
Once the app starts, decide how you want to add files for transcription. You have two main options:
Option A: Use files from UCloud folders
- If you selected folders in the launch step, the app will automatically list the files detected there.
- Choose the files you want and click Add UCloud files to add them to your transcription queue.
- If you add new files to the folder after the job has started, click Scan UCloud folder to refresh the list.
Option B: Upload files from your computer
- Drag and Drop your files directly into the upload area of the Transcriber app.
- Or click the upload area to browse your computer and select files.
- Multiple files can be added at once.
Step 3: Start the transcription
- Once you have added all your desired files to the transcription queue, click Start Transcription.
- The app will then begin processing your files.
Step 4: Download Your Transcriptions
- While the job is running: You can download completed transcriptions directly from the app, either one by one or as a zip file.
- After the job is finished: All transcriptions will be available in the
/Jobs/Transcriber/<job-id>/TRANSCRIPTIONS/folder on UCloud.
Optional: Adjust settings
- Click Show settings at the top of the page to adjust:
- The transcription model (default is “large-v3”).
- The language (default is “Automatic”).
- If you’re unsure, the default settings are usually best.
Need more advanced options?
Use the Transcriber batch version, which offers extended configuration possibilities.
Need Help?
Contact your support team through the serviceportal.