Important: Sensitive data must be processed in a project
If you are working with sensitive data, you must run ChatUI from a dedicated project in UCloud — not from My Workspace.
Using a dedicated project helps ensure proper access control and compliance with data protection requirements.
Introduction
ChatUI on UCloud is an intuitive application designed for working with large language models (LLMs). This guide will walk you through the process of setting up, configuring, and effectively using ChatUI. It covers both personal use—where ChatUI can handle sensitive data securely—and shared use, where you can provide multiple users access via a public link, making it ideal for teaching or similar collaborative scenarios.
Configuring the ChatUI application
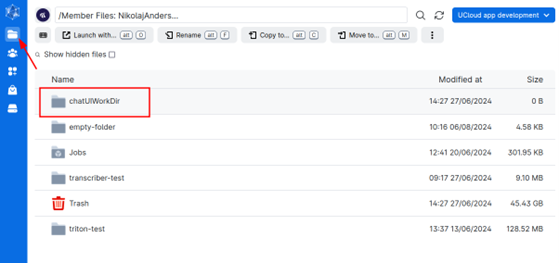
1. Create a data directory
To save configurations and avoid repeated setups, create an empty folder on your drive in UCloud. This folder will later be used as the input parameter DATA_DIR .
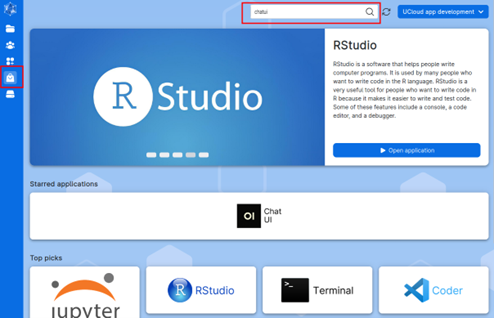
2. Find and start the ChatUI application
Search for "chatui" under the apps section of UCloud and select it to begin setup.
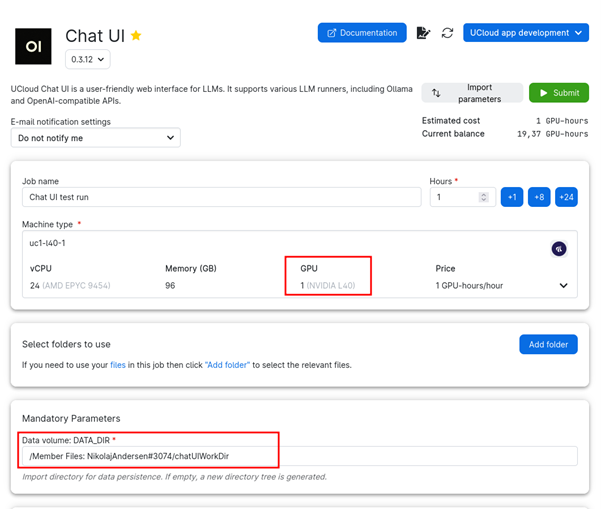
3. Select the optimal machine configuration
Choose a machine with one GPU, such as u3-GPU (SDU) or uc1-l4/uc1-l40 (AAU/K8). Set the runtime duration in hours and select the previously created folder as DATA_DIR.
ChatUI public link for sharing with user outside UCloud
Note applying a public link will decrease the approved sensitivity level to only 1
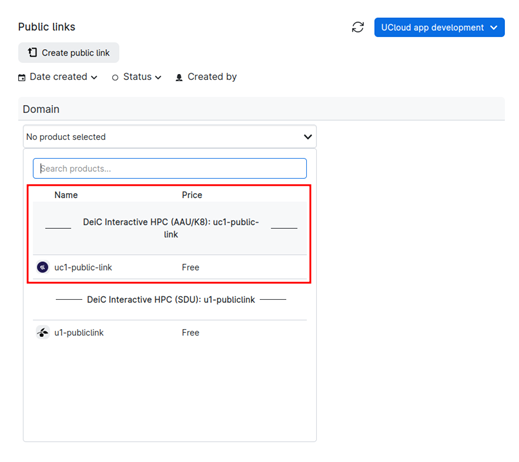
To enable access outside UCloud, scroll down and click "Add Public Link." Create a link within the same provider as the machine (SDU or AAU/K8) in this example we use the AAU/K8.
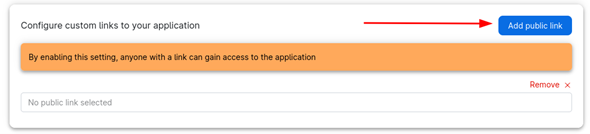
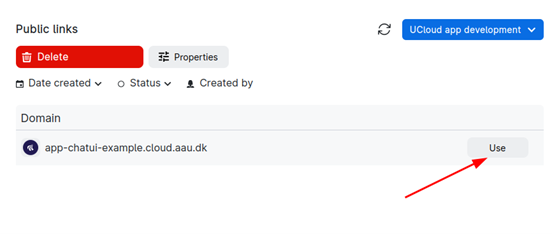
Once the link is created, click "Use." This will generate a URL to access the application.
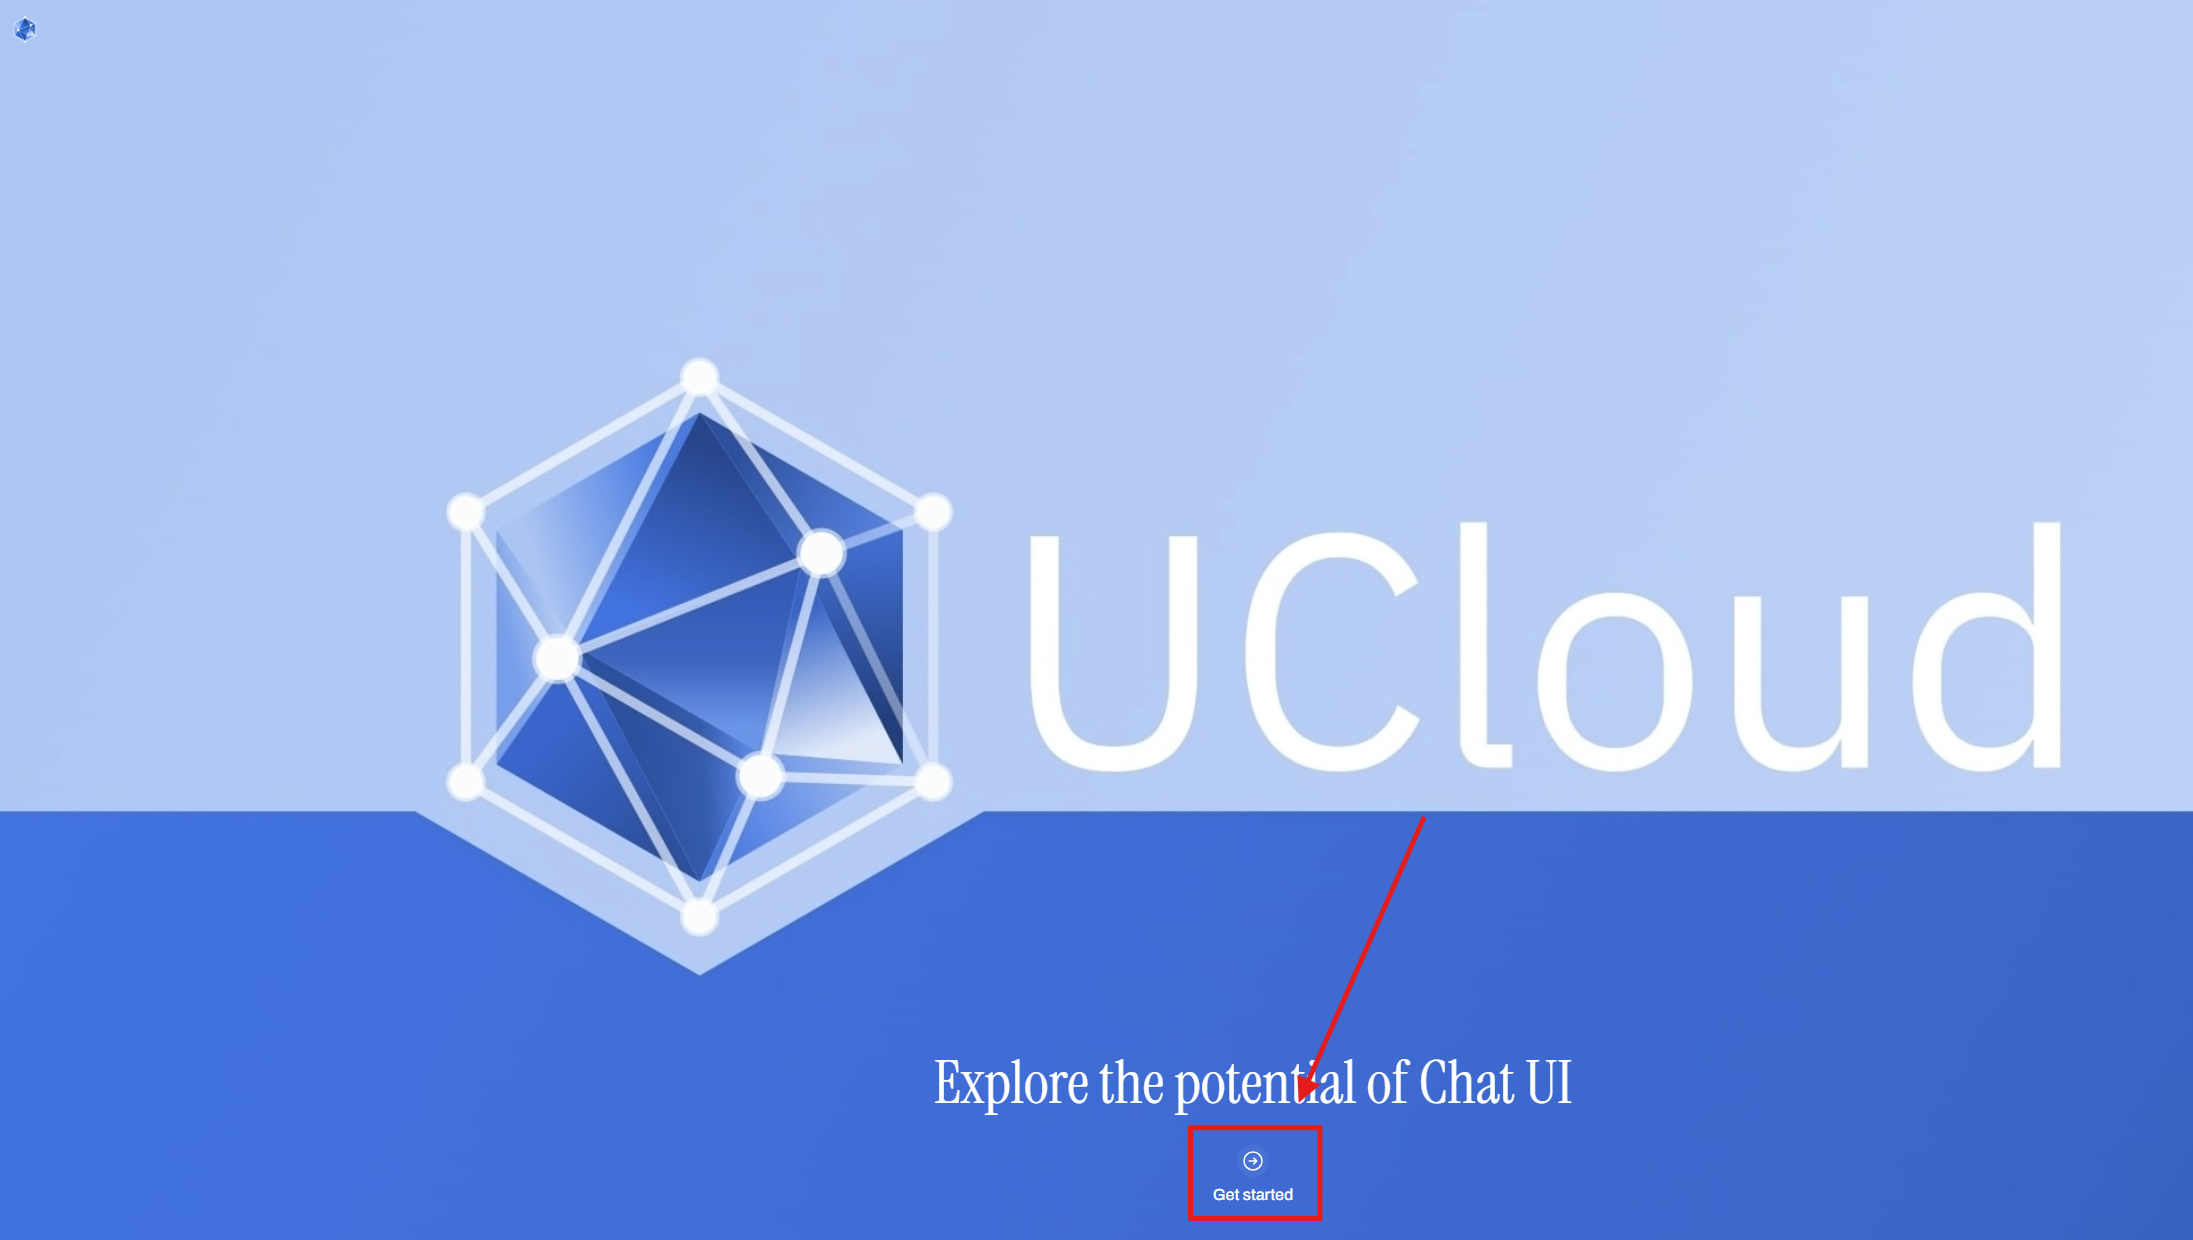
4. Launch the application
Click the green "Submit" button at the top of the page to start the application. After launching, wait for the application to build and then click "Open Interface" to access ChatUI. Refresh the page if it doesn't load.
5. Set up admin and user roles
The next step is to create an account by clicking "Sign Up." Enter your name, email, and password, then click "Create Account." The first user (you) will automatically be assigned the admin role.
How to give access to other users
There are two options for allowing other users to access the ChatUI interface. 1. Enable the "Allow New Sign-Ups" option in the settings panel. This allows new users to apply for an account, which you can then review and approve.
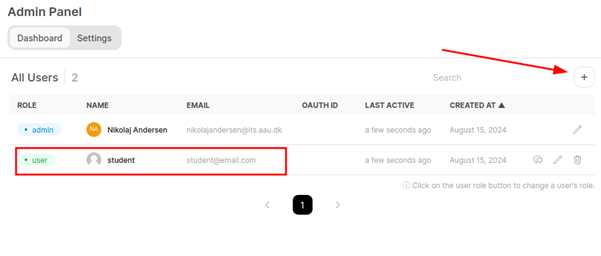
2. Create a dedicated account for each user through the settings menu, as shown below. Ensure that new users are assigned the appropriate role — either "User" or "Admin"—to maintain control over the application settings.
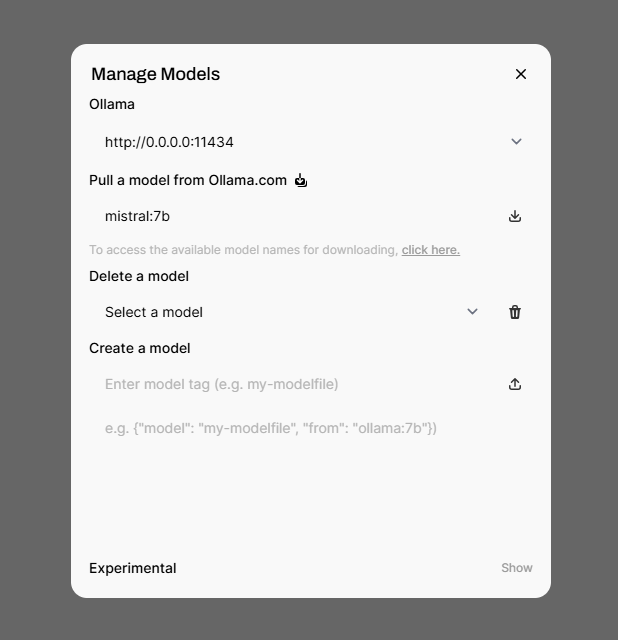
6. Download and manage models
Go to Adminstrationpanel > Settings > Models to download models. If you’re unsure of the model name, use the provided link to explore available options. For example, type "llama3" or "mistral:7b" and click the download button.

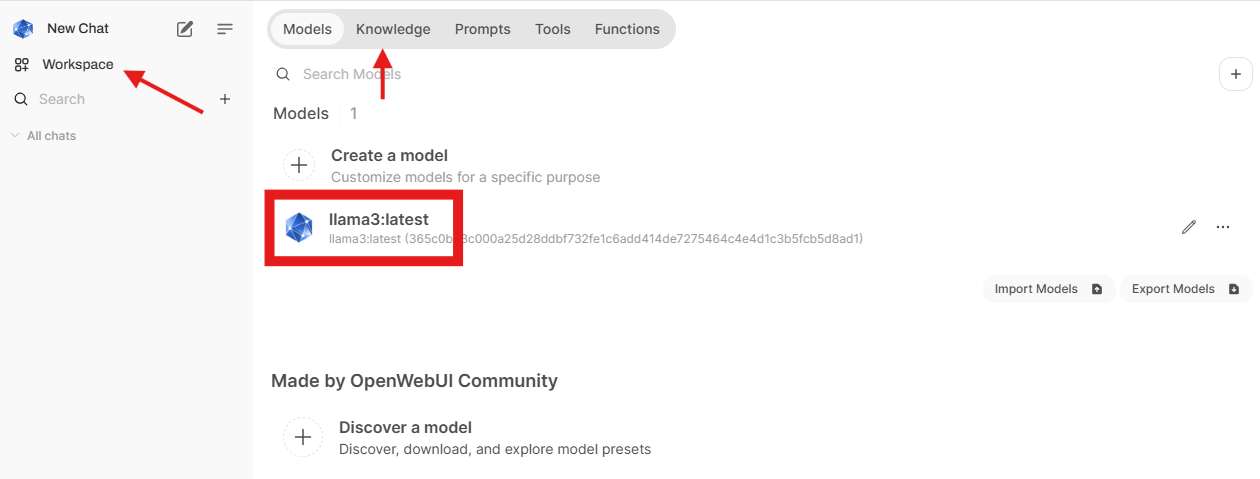
Once downloaded, the model will appear in the Workspace under the Models section. By default, the model is only visible to the person who downloads it. To make the model accessible to all users, click on the model name, change the visibility to "Public," and press Save.
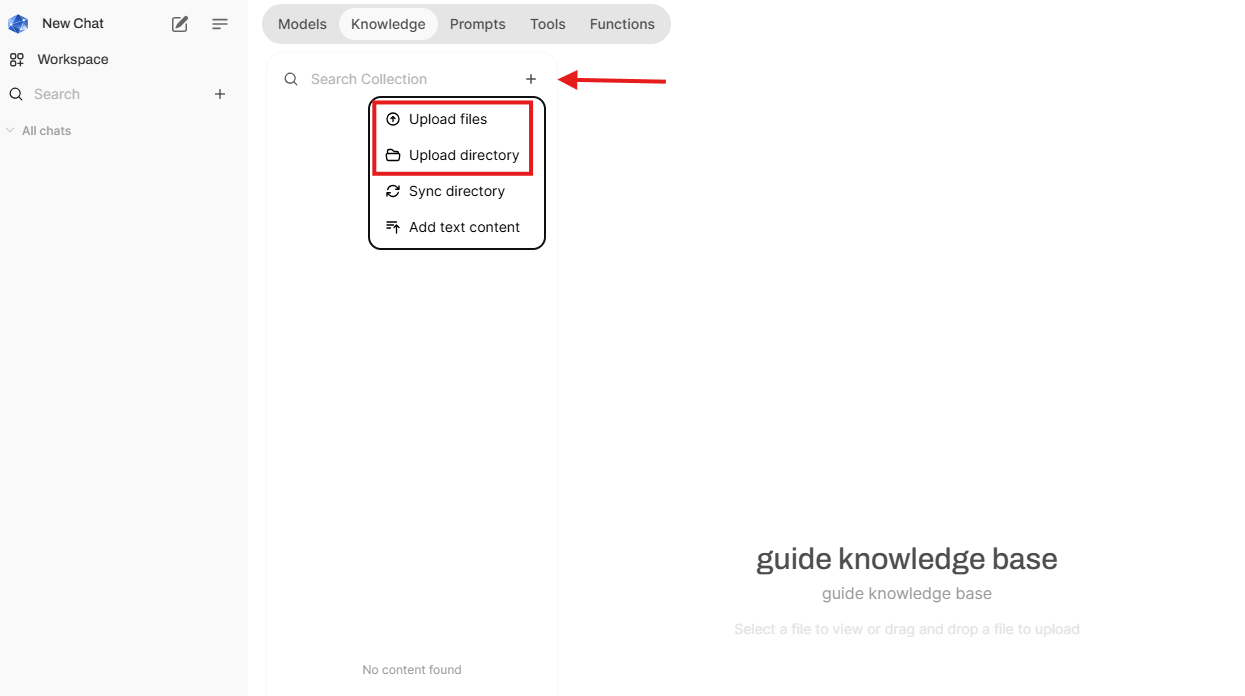
7. Set up a knowledge base for RAG functionality
In the Knowledge section, you can create a knowledge base to upload documents for retrieval-augmented generation (RAG).

Provide a name and description for the knowledge base, and select the visibility for other users. Afterwards you can upload documents or directories to the knowledge base.
Note: It may take some time for larger documents to be uploaded.
Using ChatUI for inference
1. Start a new chat
Click "New Chat" in the upper-left corner. Select the downloaded model (e.g., llama3) from the dropdown. Use # in the prompt input field to reference the knowledge base.
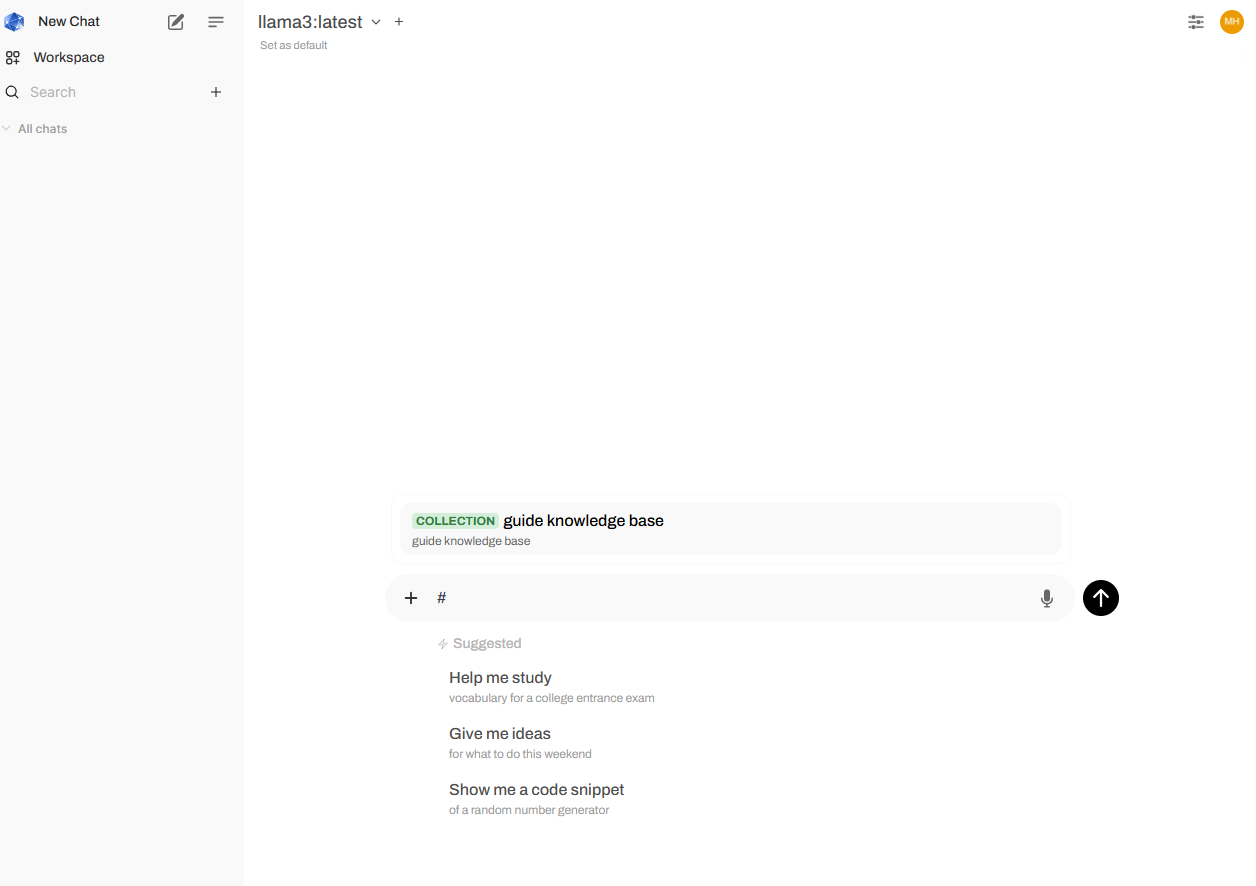
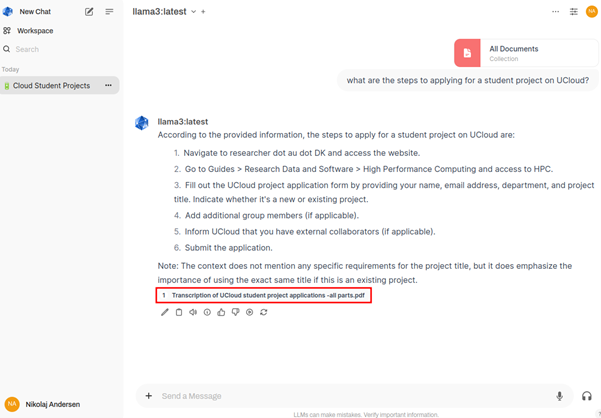
2. Submit queries and view responses
Type a query in the input field. Responses will indicate the source document used in the reply.
Reusing configurations
Next time you want to use the same settings:
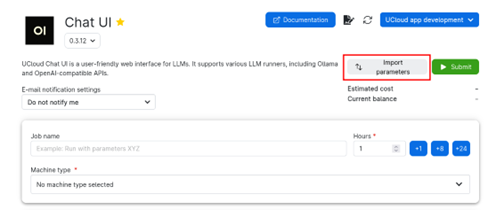
1. Click Import parameters on the app start page.
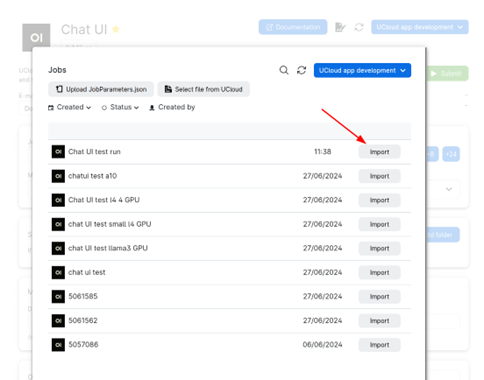
2. Import the configuration from the previous session.
3. Click "Submit" to relaunch the app.
FAQ
1. Why does the first response take longer to complete?
The model needs to load into memory before processing queries. Subsequent responses will be faster.
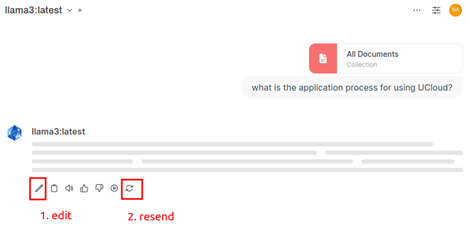
2. Why is there no response to my first query?
The model might not be fully loaded. Click "Edit," then "Save," and resend the query. Alternatively, monitor the log file ollama-log.txt to confirm the model is ready.
3. How to extend server runtime?
Locate your server in UCloud’s recent runs tab, select the instance, and add more time using the +1, +8, or +24-hour buttons.
4. How to stop the server?
In the recent runs tab, select the server and click "Stop application." Confirm the shutdown to free resources and avoid unnecessary costs.
5. Why is shutting down the server important?
- Cost management: Servers consume resources billed by the hour.
- Resource allocation: Free up resources for other users or projects.
6. What to do if I cannot start a server due to "not enough credits"?
Check if you’re in the correct project. If resources are depleted, apply for more using the designated application form.
7. What does "Job is unavailable" mean?
This error appears if the server isn't ready. Wait 30 seconds and try "Open Interface" again.